Sunday, October 16, 2011
Saturday, October 15, 2011
Lotsa Progress!!!
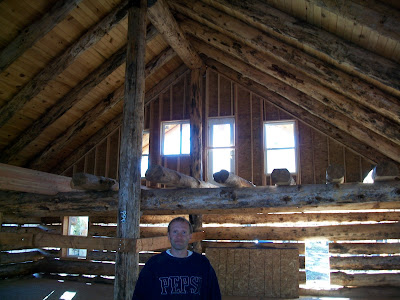
I am really scrambling to get my place dried in before serious winter hits. We had 14 inches of snow 2 weeks ago, but most of that has melted off since. Good thing. The last two weeks have lots of visible progress on my cabin. It seems like I spend days and weeks pushing and pushing for progress, and then it seems to come together all at once and lots of progress is made. Below are the most recent pics.
Sunday, September 25, 2011
No Life Without Water
My cabin is completely off the grid, and wells aren't feasible. Putting a 3,000 gallon water tank in the basement is the way to go.
Sunday, September 18, 2011
Monday, August 22, 2011
Windows! Finally!
Trudging slowly toward my goal of drying in the cabin before this winter. Before I can insulate the gaps and chink, I need the doors and windows in. I've taken my first steps towards that with this window. I used 4 x 12 doug fir. Love the look, but would not use doug fir again. Way too heavy and unmanageable.
Suggestion to anyone at this stage: Adjust your window heights so the tops and bottoms of your window openings fall in the gaps between logs. Cutting horizontally through logs with all that rebar is worse than a root canal -- without novacaine.
Suggestion to anyone at this stage: Adjust your window heights so the tops and bottoms of your window openings fall in the gaps between logs. Cutting horizontally through logs with all that rebar is worse than a root canal -- without novacaine.
Sunday, July 3, 2011
Starting Up Again!
Wow, the winter was long and wet! Usually I can get up to the Cabin by mid-May to begin work. This year we didn't get up there until mid-June. You can see that I still have some snow on my north side.
I rented a telescoping forklift to lift and set some interior beams and second-floor joists. It was difficult maneuvering the head and arm of the lift through the open gable ends with the beams/logs attached, but ultimately it worked. The main interior beam is 16 1/2 inches high and 28 ft long. Pretty hefty.
The second floor joists are a little different than what you normally see. I had the upper and lower portions of the log joists planed flat so they will sit evenly on the log girders and make it easier to lay the tongue and groove. I'm going for a rough log look without the difficulty of using rough, round logs. I hope it works out.
Finally, I set the front balcony beams. The front of the cabin will have a covered, walk-out balcony that runs the entire length of the front of the cabin. We are looking forward to spending summer evenings out there.
Subscribe to:
Comments (Atom)


