Wednesday, December 17, 2014

Stairs are on the way!

It's about time I figured out how to walk upstairs without climbing a ladder.  I've never built a set of stairs.  It's been a bit of trial and error, but we're getting there.  One thing of I've learned is that stringers really aren't that easy to design and build.


Tuesday, August 26, 2014

More Framing

Nearly done with the interior framing.  More pics. See if you can recognize the future secret passageway.


Sunday, August 10, 2014

Second Floor Framing

As I said, the upstairs framing is a little tricky with the very short side walls.  I think I've figured it out.  Hopefully the inspector thinks so, too.


Sunday, July 27, 2014

Second Floor Work

I'm finally ready to construct the second floor.  The challenge is my exterior walls.  I shortened them during early construction because the cabin seemed too big for the area.  My original plan was to go 12 logs high.  I shortened them to 8 logs. It's coming back to bite me because the useable second floor area is much more limited.  I should have done 10 logs high.  Oh well.  Live and learn. I will have to get very creative with the second floor framing to still get 2 bedrooms, a bathroom and sufficient open loft area.

My second floor is split into two types.  The main front area utilizes log joists resting on large log beams.  My unique design for the log joists was to plane them on top and bottom, but leave the sides natural.  This gives me a flat surface to rest on the log beams, and a flat surface on which to lay the tongue and groove.  Easier construction than full log joists, but still preserves most of the natural look of the logs.  I have 2/3 of the tongue and grroove installed.

The other section over the kitchen is more standard glulam beam, lumber joists and 4x8 OSB sheets.  I will place 1x6 tongue and groove on the ceiling to tie it into the main second floor area.

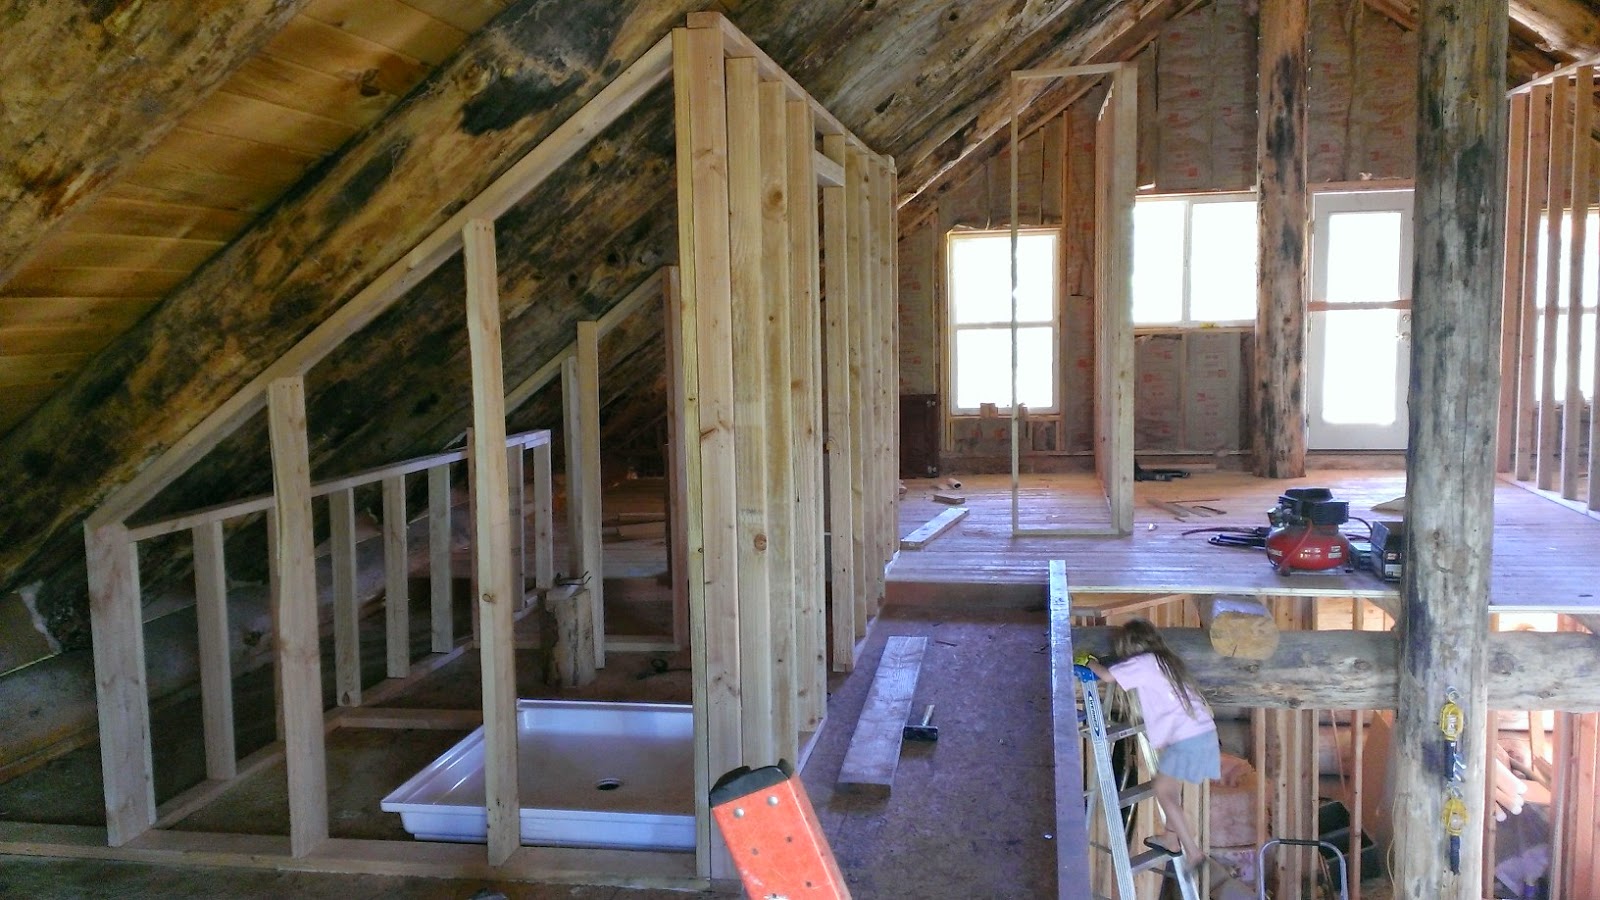
Here are some photos.


Sanding.

I'm not going to spend much time discussing the process I went through to sand the interiors of my wall logs. It was sooooo boring to do.  It would be even more boring to read about.  For the record, however, I used 3 variable speed sanders with 7 inch hook and loop sanding discs.  80 grit paper for the first pass.  I'll use something finer for the second pass.  The hook and loop discs were much better than adhesive discs, because they stayed on the sanding pad.  The variable speed sanders were much, much better than angle grinders.  RPM on the grinders is much too high for adhesive sanding pads.  Anyway, after 3 weeks of dark brown snot and bright red eyes, we finally finished the first pass on the wall logs.  The second pass will be much easier, and less messy.


Sunday, January 5, 2014

Front Deck

I tried to get the front deck finished before the snow set in.  Close, but not quite.  Looks good, though. One of my friends found a little surprise nearby, and now he has a nice new trophy on his wall.


Hearth - Final Chapter (almost)

I now have a functioning hearth and wood stove.  Other than some flagstones and capstones to install, this is my hearth and stove.  Glad to have this (mostly) complete.  Having a heat source feels like an important milestone--like I've crossed over from construction project to useable cabin.  It felt similar to when I used the functioning toilet for the first time ;).  I've fired up the stove a couple of times and it heats the cabin very nicely.  With the height of my ceiling, it takes awhile for the first floor to feel the warmth, but a couple of fans to circulate the air should fix that.