Sunday, October 28, 2012

Outside Chinking Complete--Done for the Season

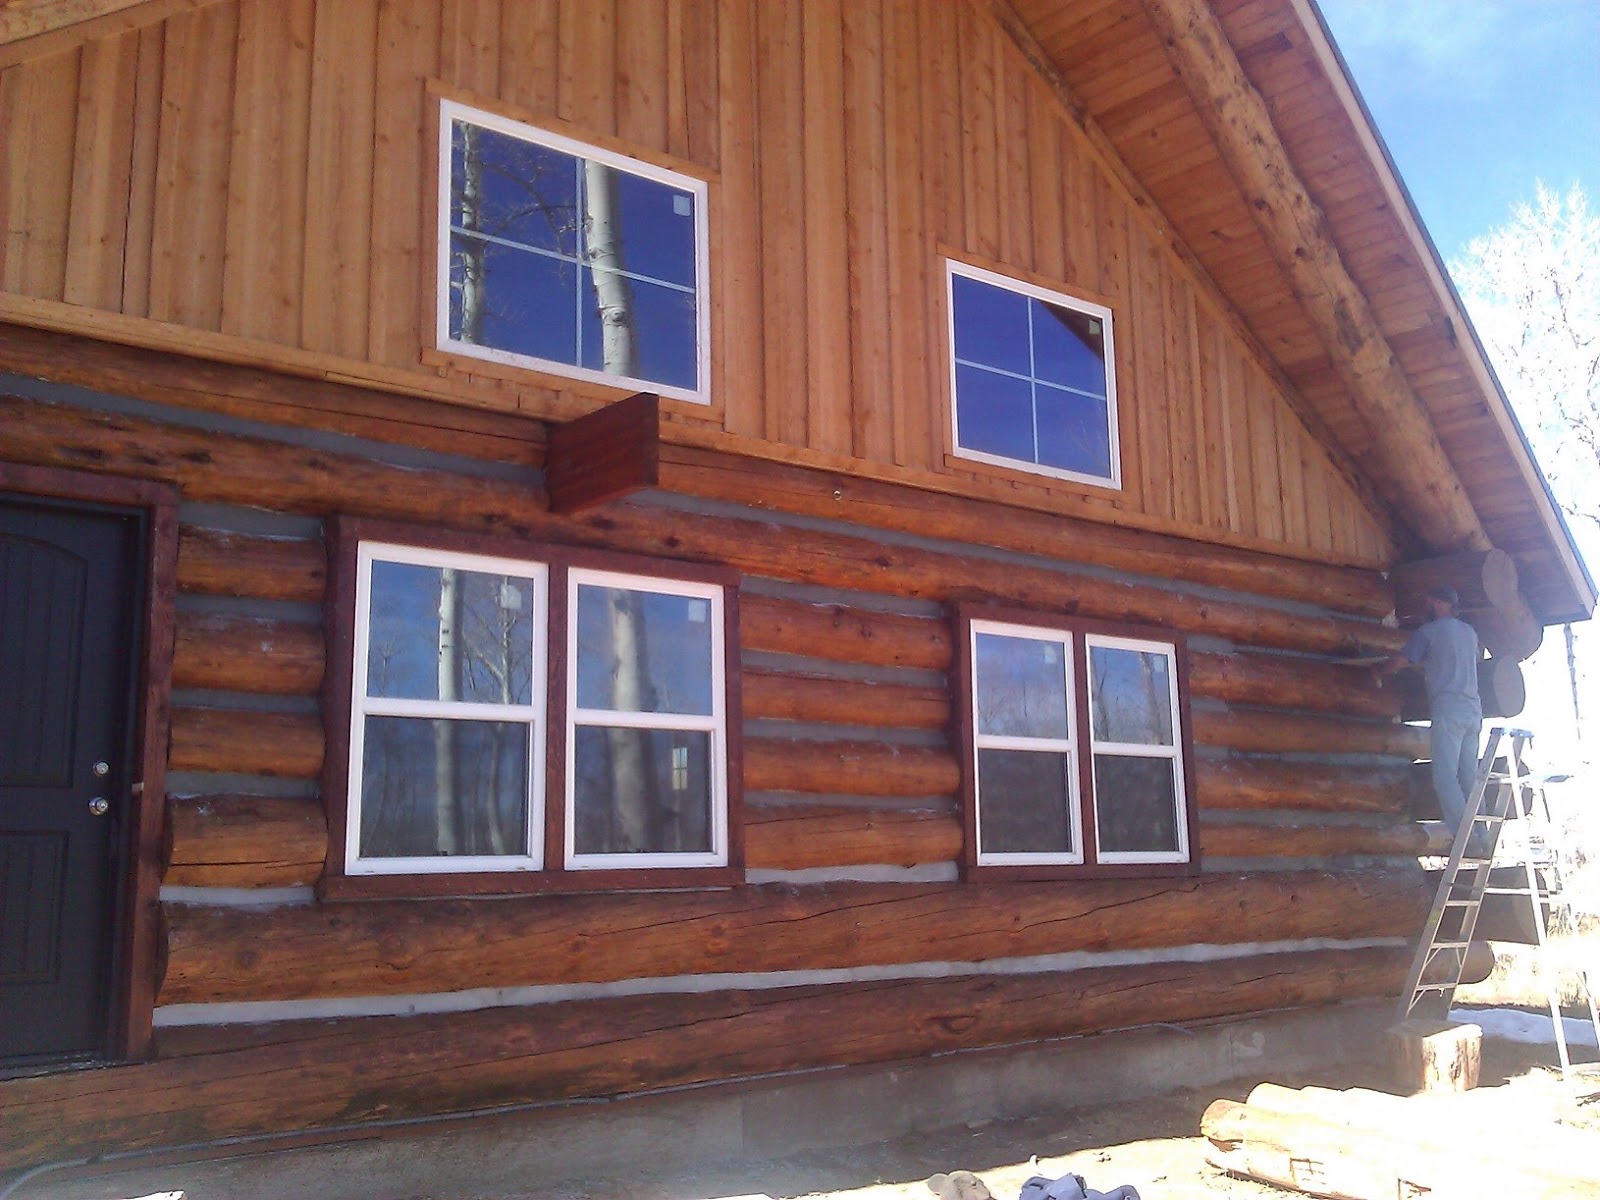
The outside chinking is now complete, just before the first major snow of the season.  I am now dried in.  Hallelujah!!  Unfortunately, I won't be able to enjoy it for another 6 months because of snow and cold, and because I haven't set a wood-burning stove yet.  First thing I do next Spring.  


Sunday, September 30, 2012

Chinking Continues

More progress on chinking.  I am using standard grey portland cement in my mortar mixture.  It goes on medium grey, but it dries light grey.  Next year, I plan to apply a slurry that I will color to a charcoal grey.  It will work well with my charcoal roof.


Practice Wall

Before you begin chinking, I highly recommend a practice chinking wall.  Take some small log ends, two to three feet in length, nail them together with 2 x 6s on the ends, and you have a small wall section to practice on.  I learned some valuable lessons before I started chinking my cabin.  Note the last picture with the actual chinking.  There are cracks all throughout.  After tinkering with the mortar mixture, and with some good advice from knowledgeable friends, I was able to iron out these problems.


Sunday, September 16, 2012

Chinking Begins

The logs are finally stained and the chinking has begun . . . . . sort of.  I will stain the board and batten later.   For insulation I used backer rod.  It's a  little more expensive, but I think it will be worth it in the end.  If you go this route, use the soft rod rather than the more rigid backer rod.  The soft rod fits easily in uneven log gaps and will expand to fill the entire gap.  To strengthen the chinking, I slid some hardware cloth (galvanized half-inch square grid metal mesh) behind the nails before bending them up.  This will give the chinking a little backbone.


Sunday, September 9, 2012

Finally Time for Staining

Now that the exterior logs are all sanded, it's time to stain.  I trimmed off the log overdangles.  It really cleans up the exterior look of the cabin.  For staining, I used Sashco Transformation, Brown Tone Medium.  It's pretty pricey, but I've gotten some good recommendations about it.  It'll be worth it in the long run.


Diversions

Sanding an entire log cabin can get very tedious, so diversions are necessary from time to time.  First picture shows a beautiful little redrock canyon off the side of the freeway that very few people seem to know about. Second picture is of my son in a blow up plastic chair reading his maps.  Third and fourth are of some marmots who have taken up residence in my firewood logs in the backyard.  


More Sanding . . .

There's no way around it . . . sanding logs really stinks. I used 80 and 120 grit PSAs for most of the logs, with 36 and 50 grit for knots and trouble spots.  Gratefully, mine is now done on the outside.  I'm going to find an alternative method next time . . . if there is a next time. 


Sunday, July 15, 2012

Back Door

Cutting horizontally through a 22 inch sill log is no fun. 


More Drying In

Installing board and batten siding between log rafters. 


Sunday, June 3, 2012

Drying In

I've started the long, slow slog through the sanding/staining/chinking process.  I just started and already can't wait to be done.


Front Door

Putting in a front door is one of those important psychological milestones in the process of building a cabin.  Being able to lock a front door is the point at which, at least in your own mind, you have a dwelling of your own.